 English
 Türkçe
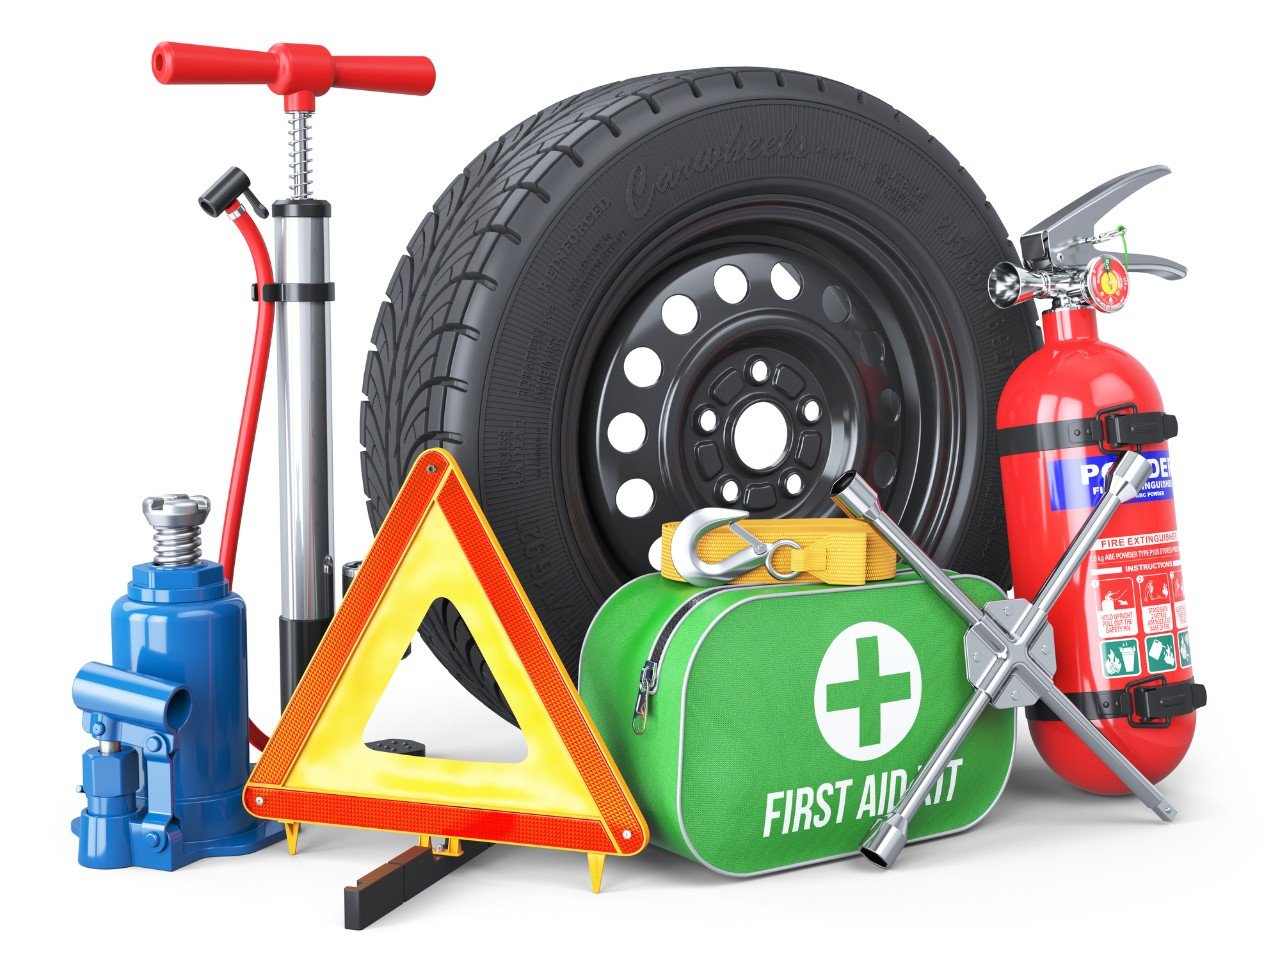
Proper Equipment Placement in Road Assistance Vehicles: The Right Layout Saves Lives!
Hey there! The interior of a road assistance vehicle should be like a well-organized backpack: everything in its place, quickly accessible, and secure. But why is proper equipment placement so critical? Because in an emergency, every second counts! Let’s dive into this topic together. 🚗🔧
Why Does Proper Placement Matter?
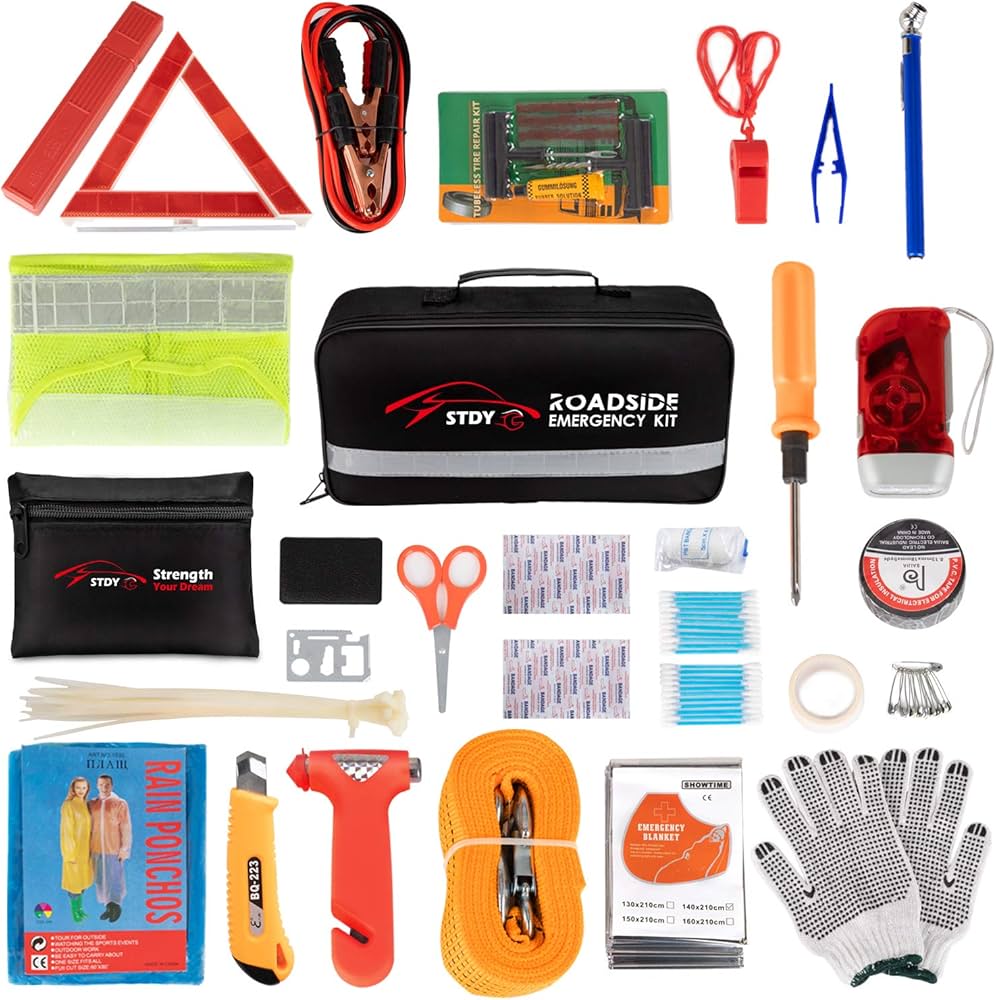
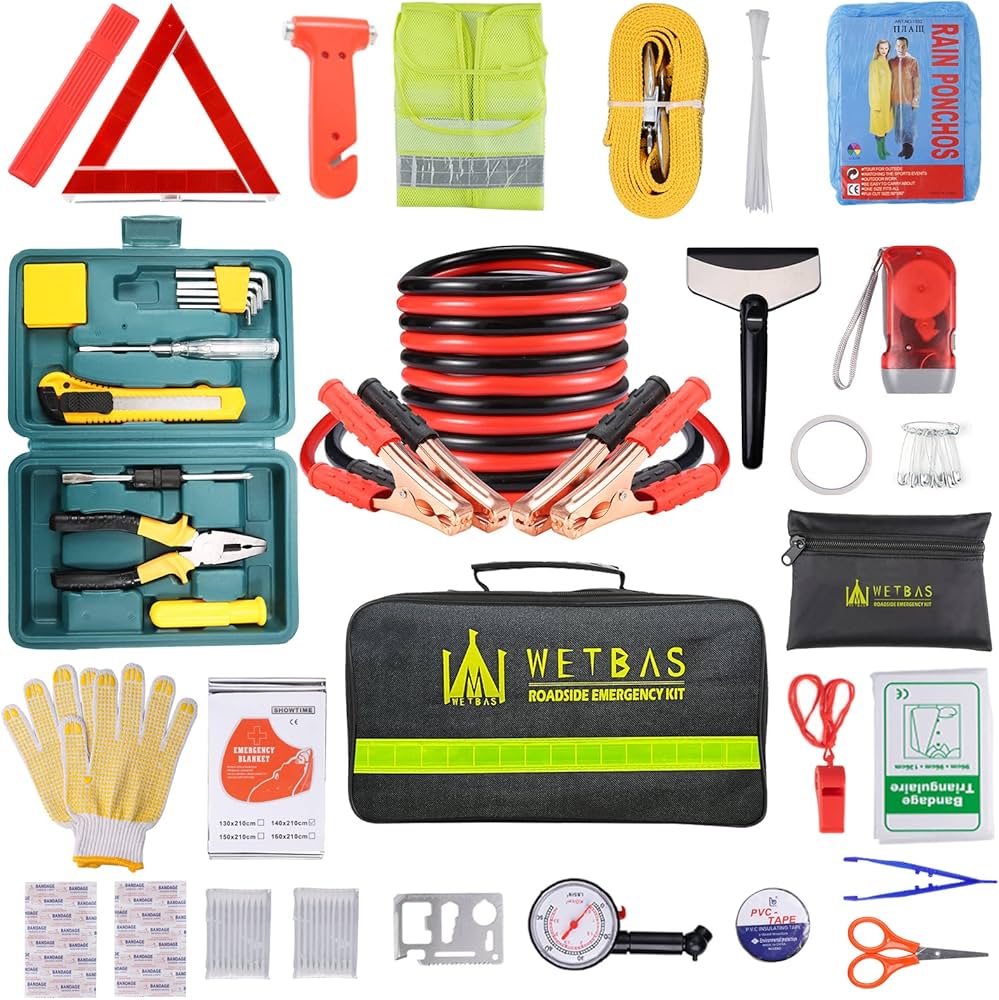
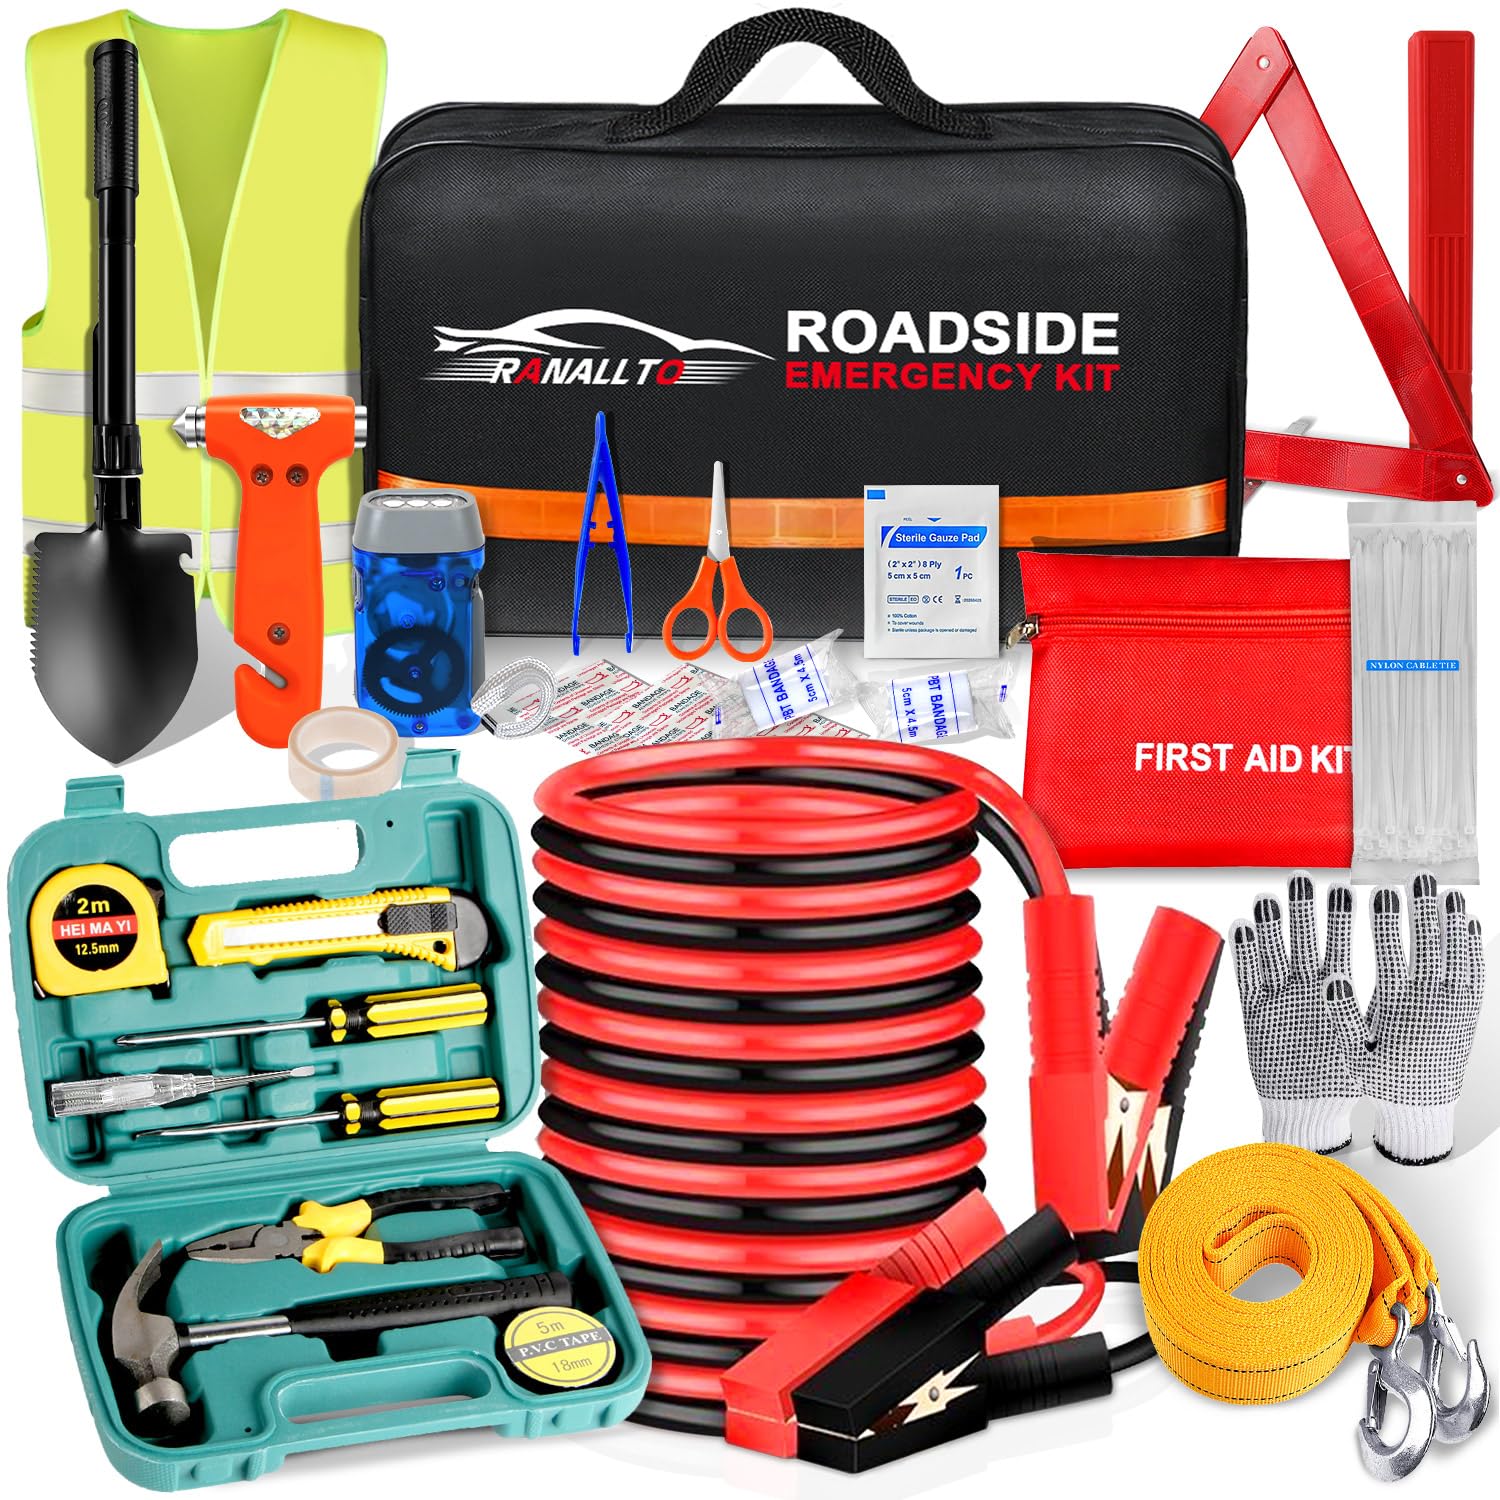
Road assistance vehicles carry dozens of tools, from tow trucks to first aid kits. However, poor equipment placement can lead to:
 Time delays,
- Safety risks,
- Equipment damage.
For example, according to NHTSA, taking more than 10 seconds to access emergency gear increases response time by 40%. That’s why knowing what’s where is vital!
How to Categorize Equipment
First step: Prioritize equipment based on urgency. Here’s a simple table:
| Category | Example Equipment | Ideal Placement | Key Notes |
|---|---|---|---|
| Emergency | First aid kit, fire extinguisher | Driver’s seat side or rear door | Keep within instant reach! |
| Vehicle Recovery | Tow straps, jack, wheel chocks | Rear compartment (secured) | Place near the center for weight balance |
| Electronics | Jump starter, radio | Dashboard or front drawer | Avoid tangled cables! |
| General Tools | Screwdrivers, pliers, spare tire | Side panels or lower compartments | Frequently used tools on top |
Common Mistakes and Fixes
- Placing Heavy Equipment on Top: Heavy winches or generators on upper shelves risk tipping over. OSHA standards require heavy items to be near the base and secured.
- Mixing Radios and Chargers: Tangled cables hinder emergency communication. Magnetic holders or wireless charging stations (like RAM Mounts) solve this.
- Locking First Aid Kits in the Trunk: No time to open the trunk during a crash! Per Red Cross guidelines, keep kits within the driver’s reach.
Real-Life Example: Smart Layout Saves Time!
 A road assistance team in Ankara used to respond to emergencies in 8 minutes on average. After reorganizing equipment by usage frequency (moving first aid to the front and heavy winches to the center), response time dropped to 5 minutes! FEMA reports similar setups can save up to 35% in response time.
Pro Tip: Some companies use modular rack systems for vehicle organization. Brands like Adler Europe offer custom compartments for every tool.
Conclusion: 3 Steps to Perfect Placement
- Prioritize: Which tools are used most/urgently?
- Balance Weight: Distribute heavy items near the vehicle’s center to avoid imbalance.
- Secure and Test: Ensure equipment stays put on bumpy roads!
Remember, proper placement isn’t just about efficiency—it’s about your safety and your clients’ safety. ISO 9001 standards highlight that such organization reduces workplace accidents by 50%.
 What’s the biggest equipment placement challenge in your vehicle? Share in the comments! 🛠️💡
Summary Table:
| Category | Best Placement Tips | What to Avoid |
|---|---|---|
| Emergency | Near driver, secured | Burying in the trunk |
| Heavy Equipment | Center, close to the floor | Stacking on upper shelves |
| Electronics | Wireless solutions, dashboard | Leaving cables tangled |
Shall we discuss “Energy Efficiency in Road Assistance Vehicles” next? 🚛⚡